
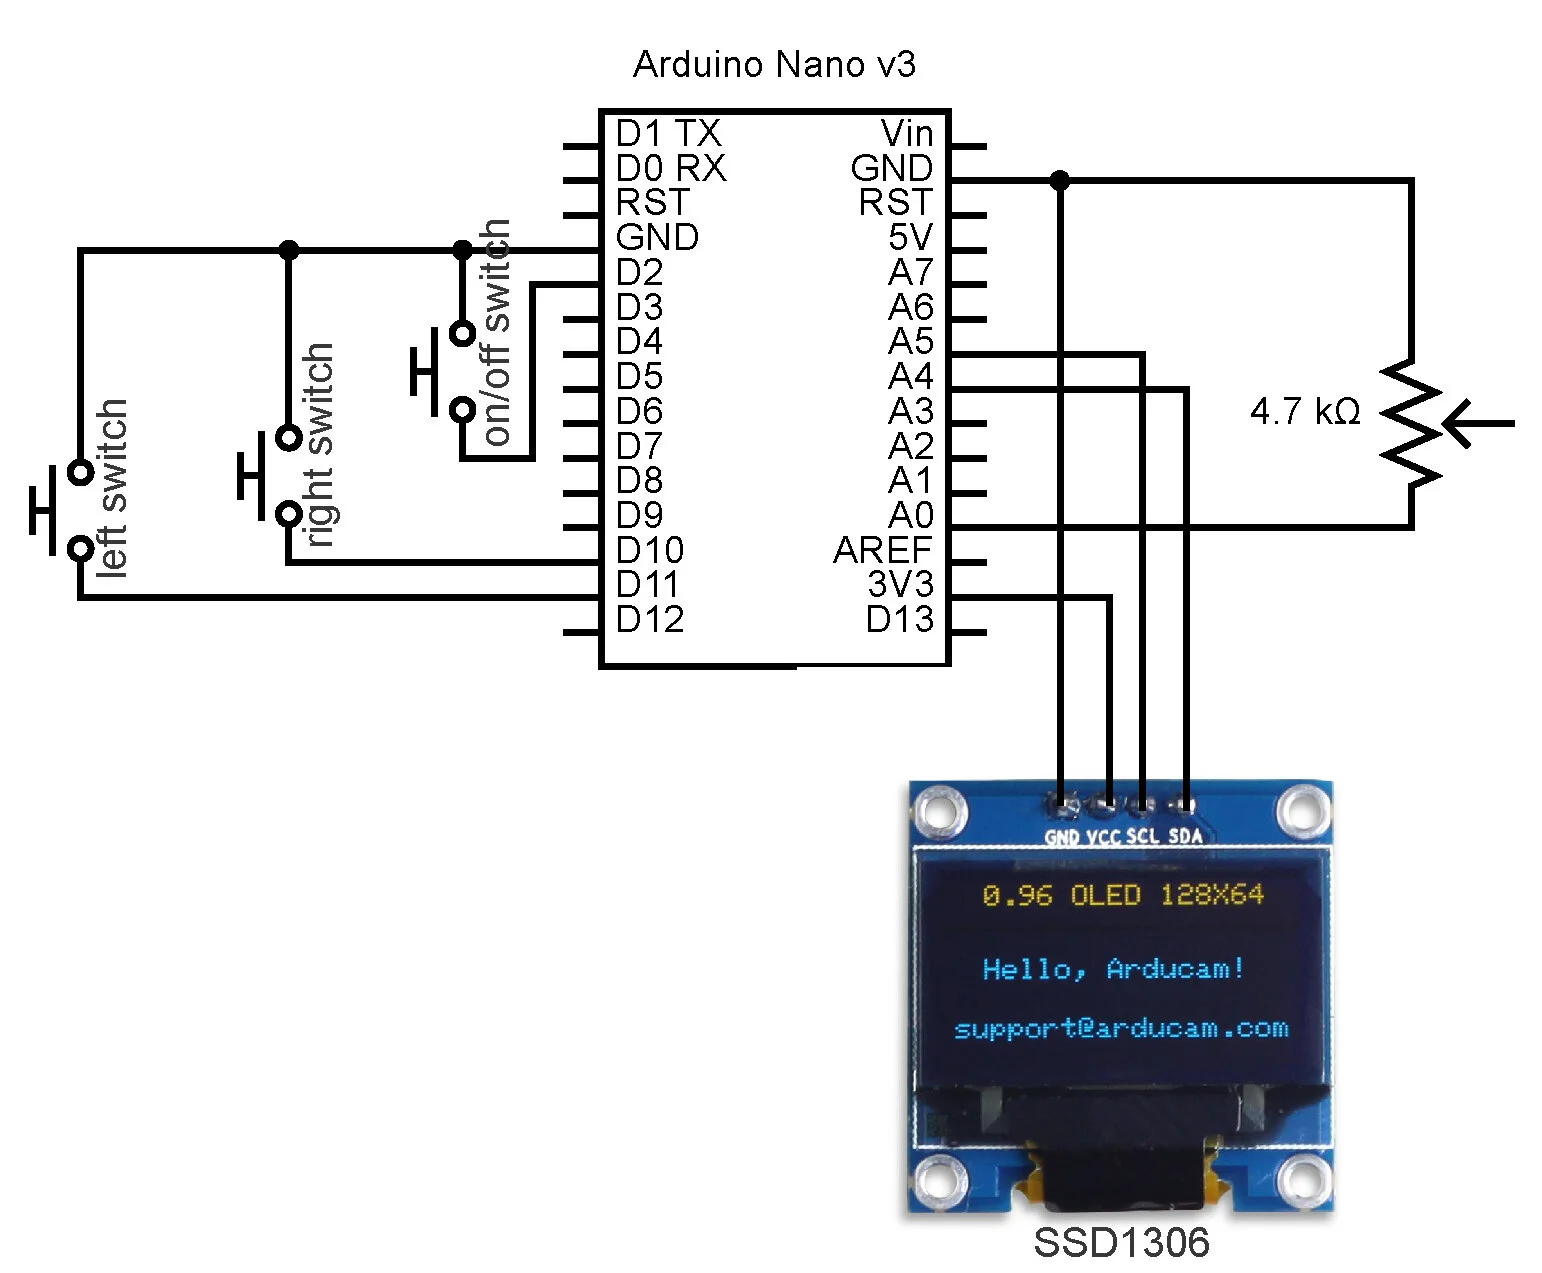
Overall Systems Diagram
I created a physical interface that controls a Hue light bulb via WiFi. There were many steps to this project coming together:
To control the light bulb’s features, the Arduino communicates with the Hue Hub server via HTTP. First, access has to be requested. Once granted, a username will be generated for the user to access all the available features on the light bulb via the Hue API.
The Hue I was working with returned the following:
"6":{"state":{"on":false,"bri":254,"hue":10928,"sat":48,"effect":"none",
"xy":[0.4146,0.3822],"ct":298,...
For my light bulb, I decided to control the ‘brightness’, ‘hue’, ‘saturation’, and ‘color temperature’, which all hold integer values.
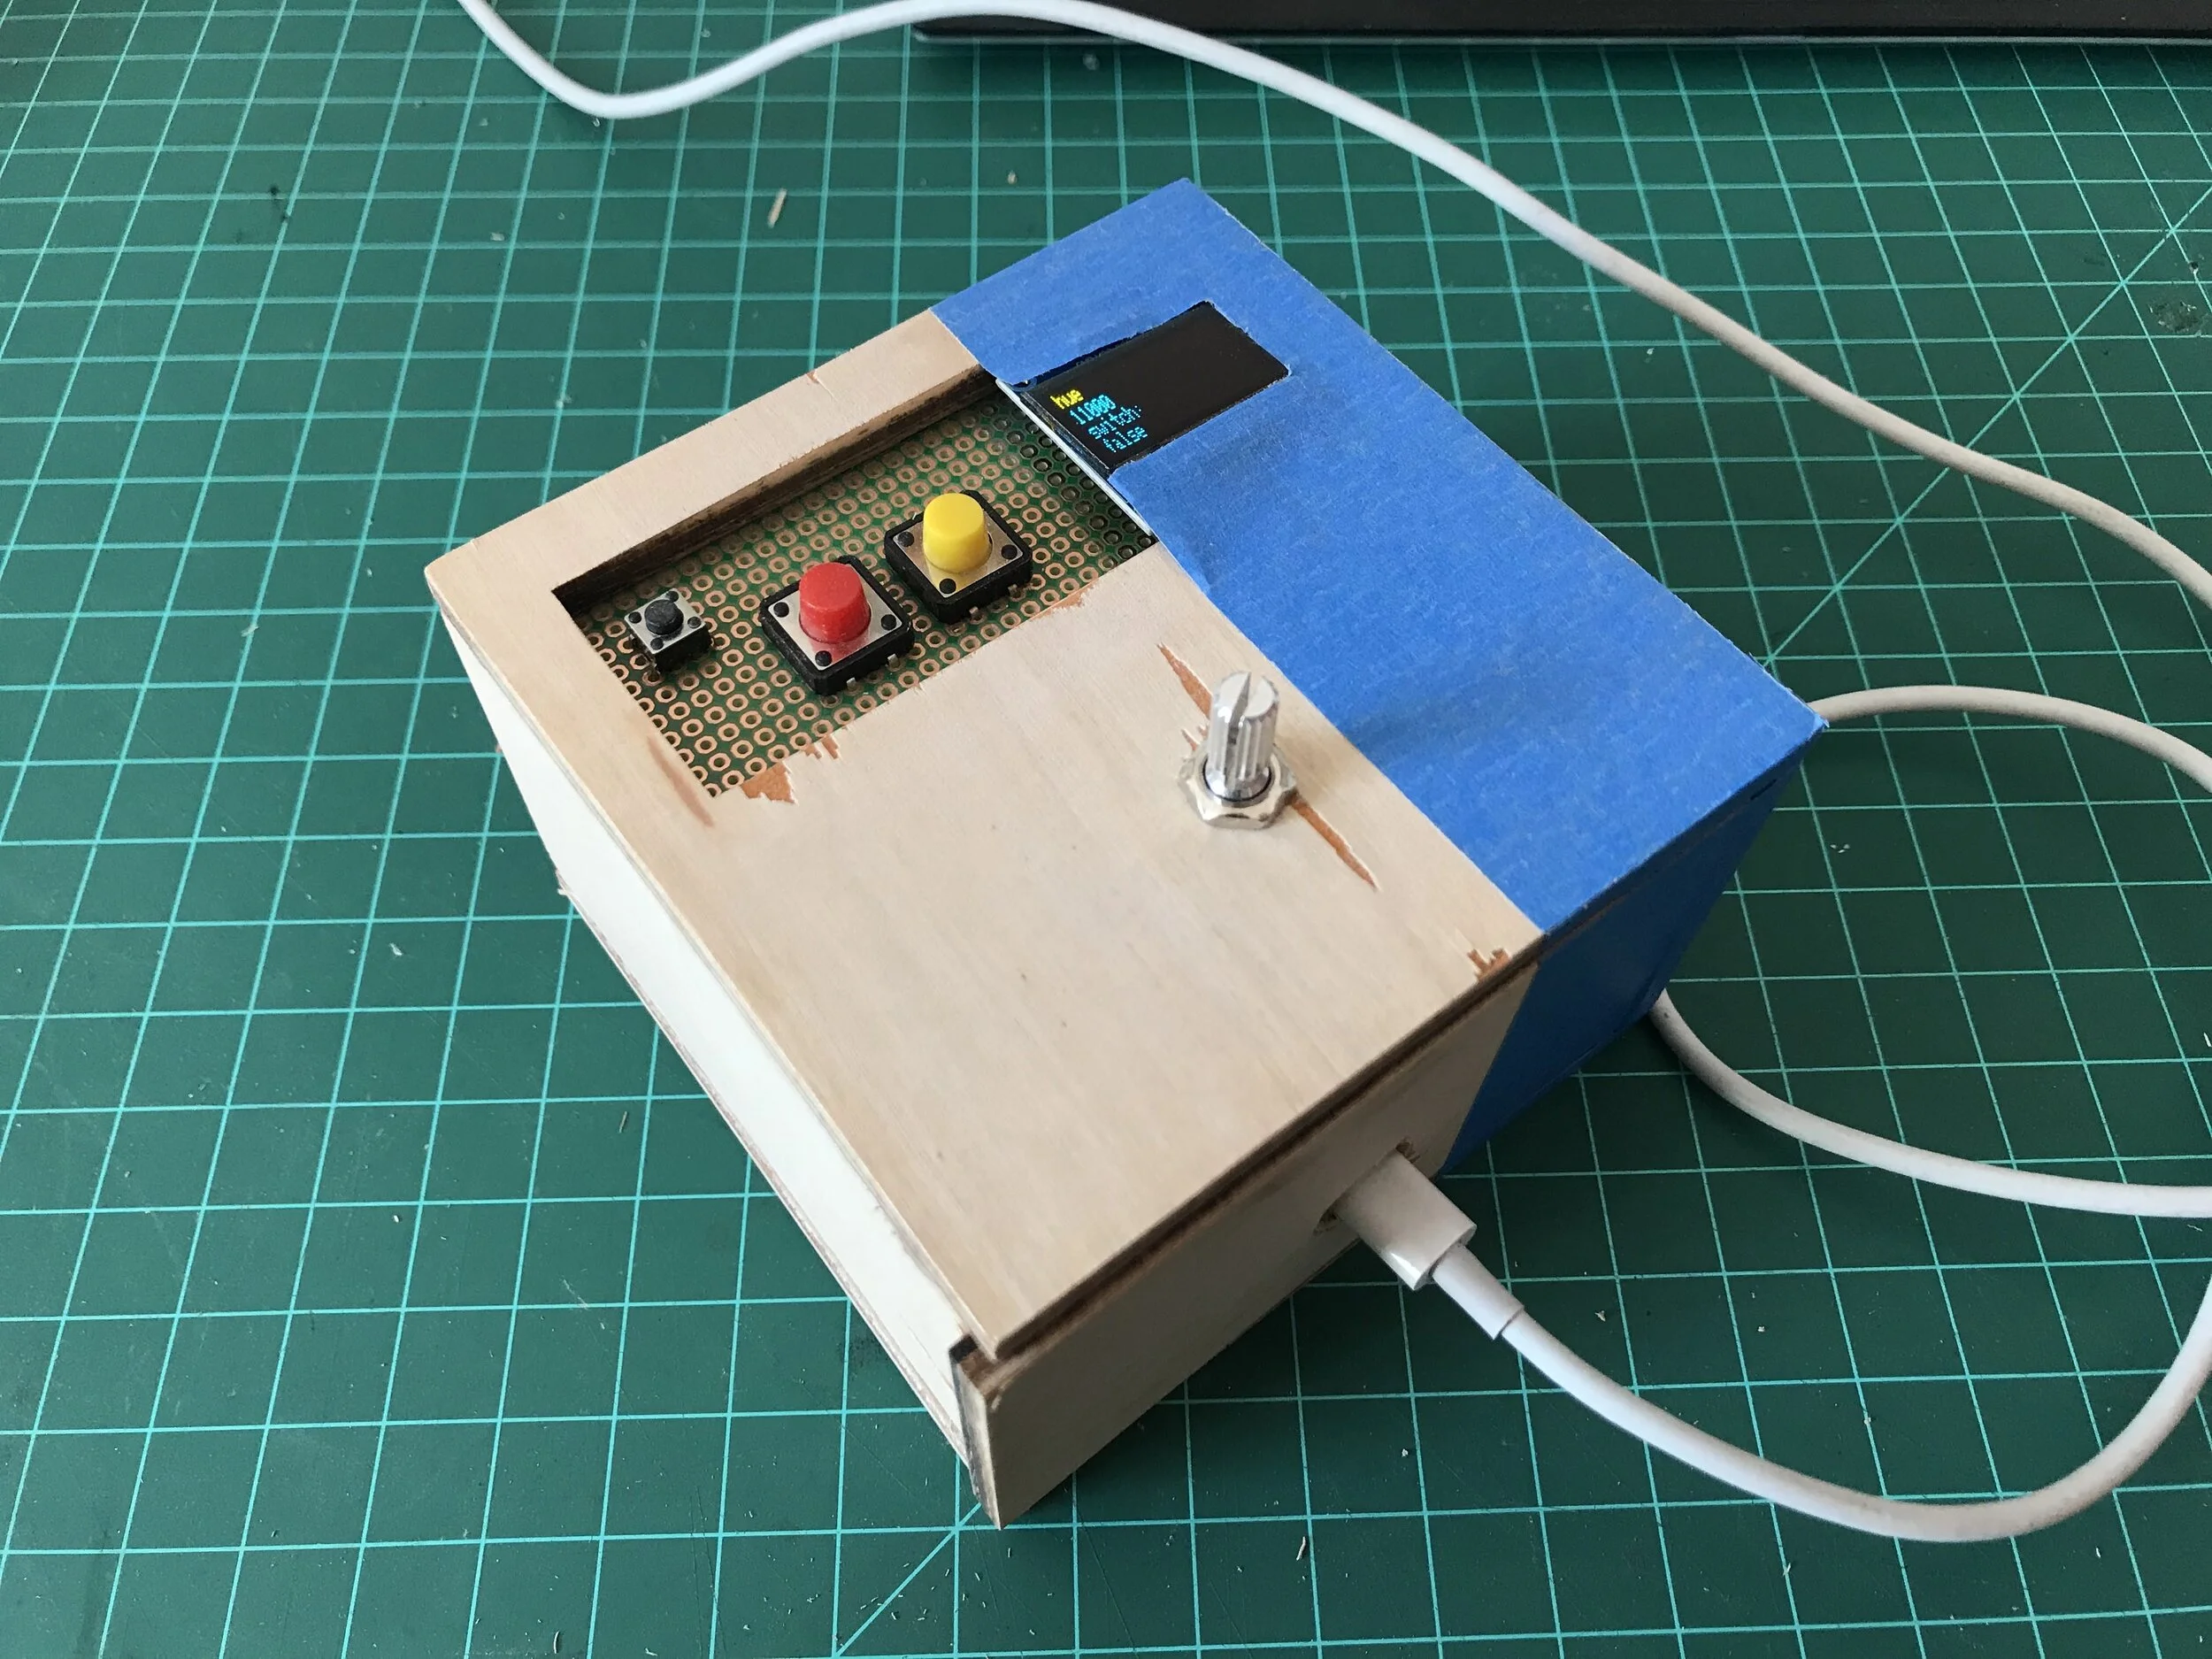
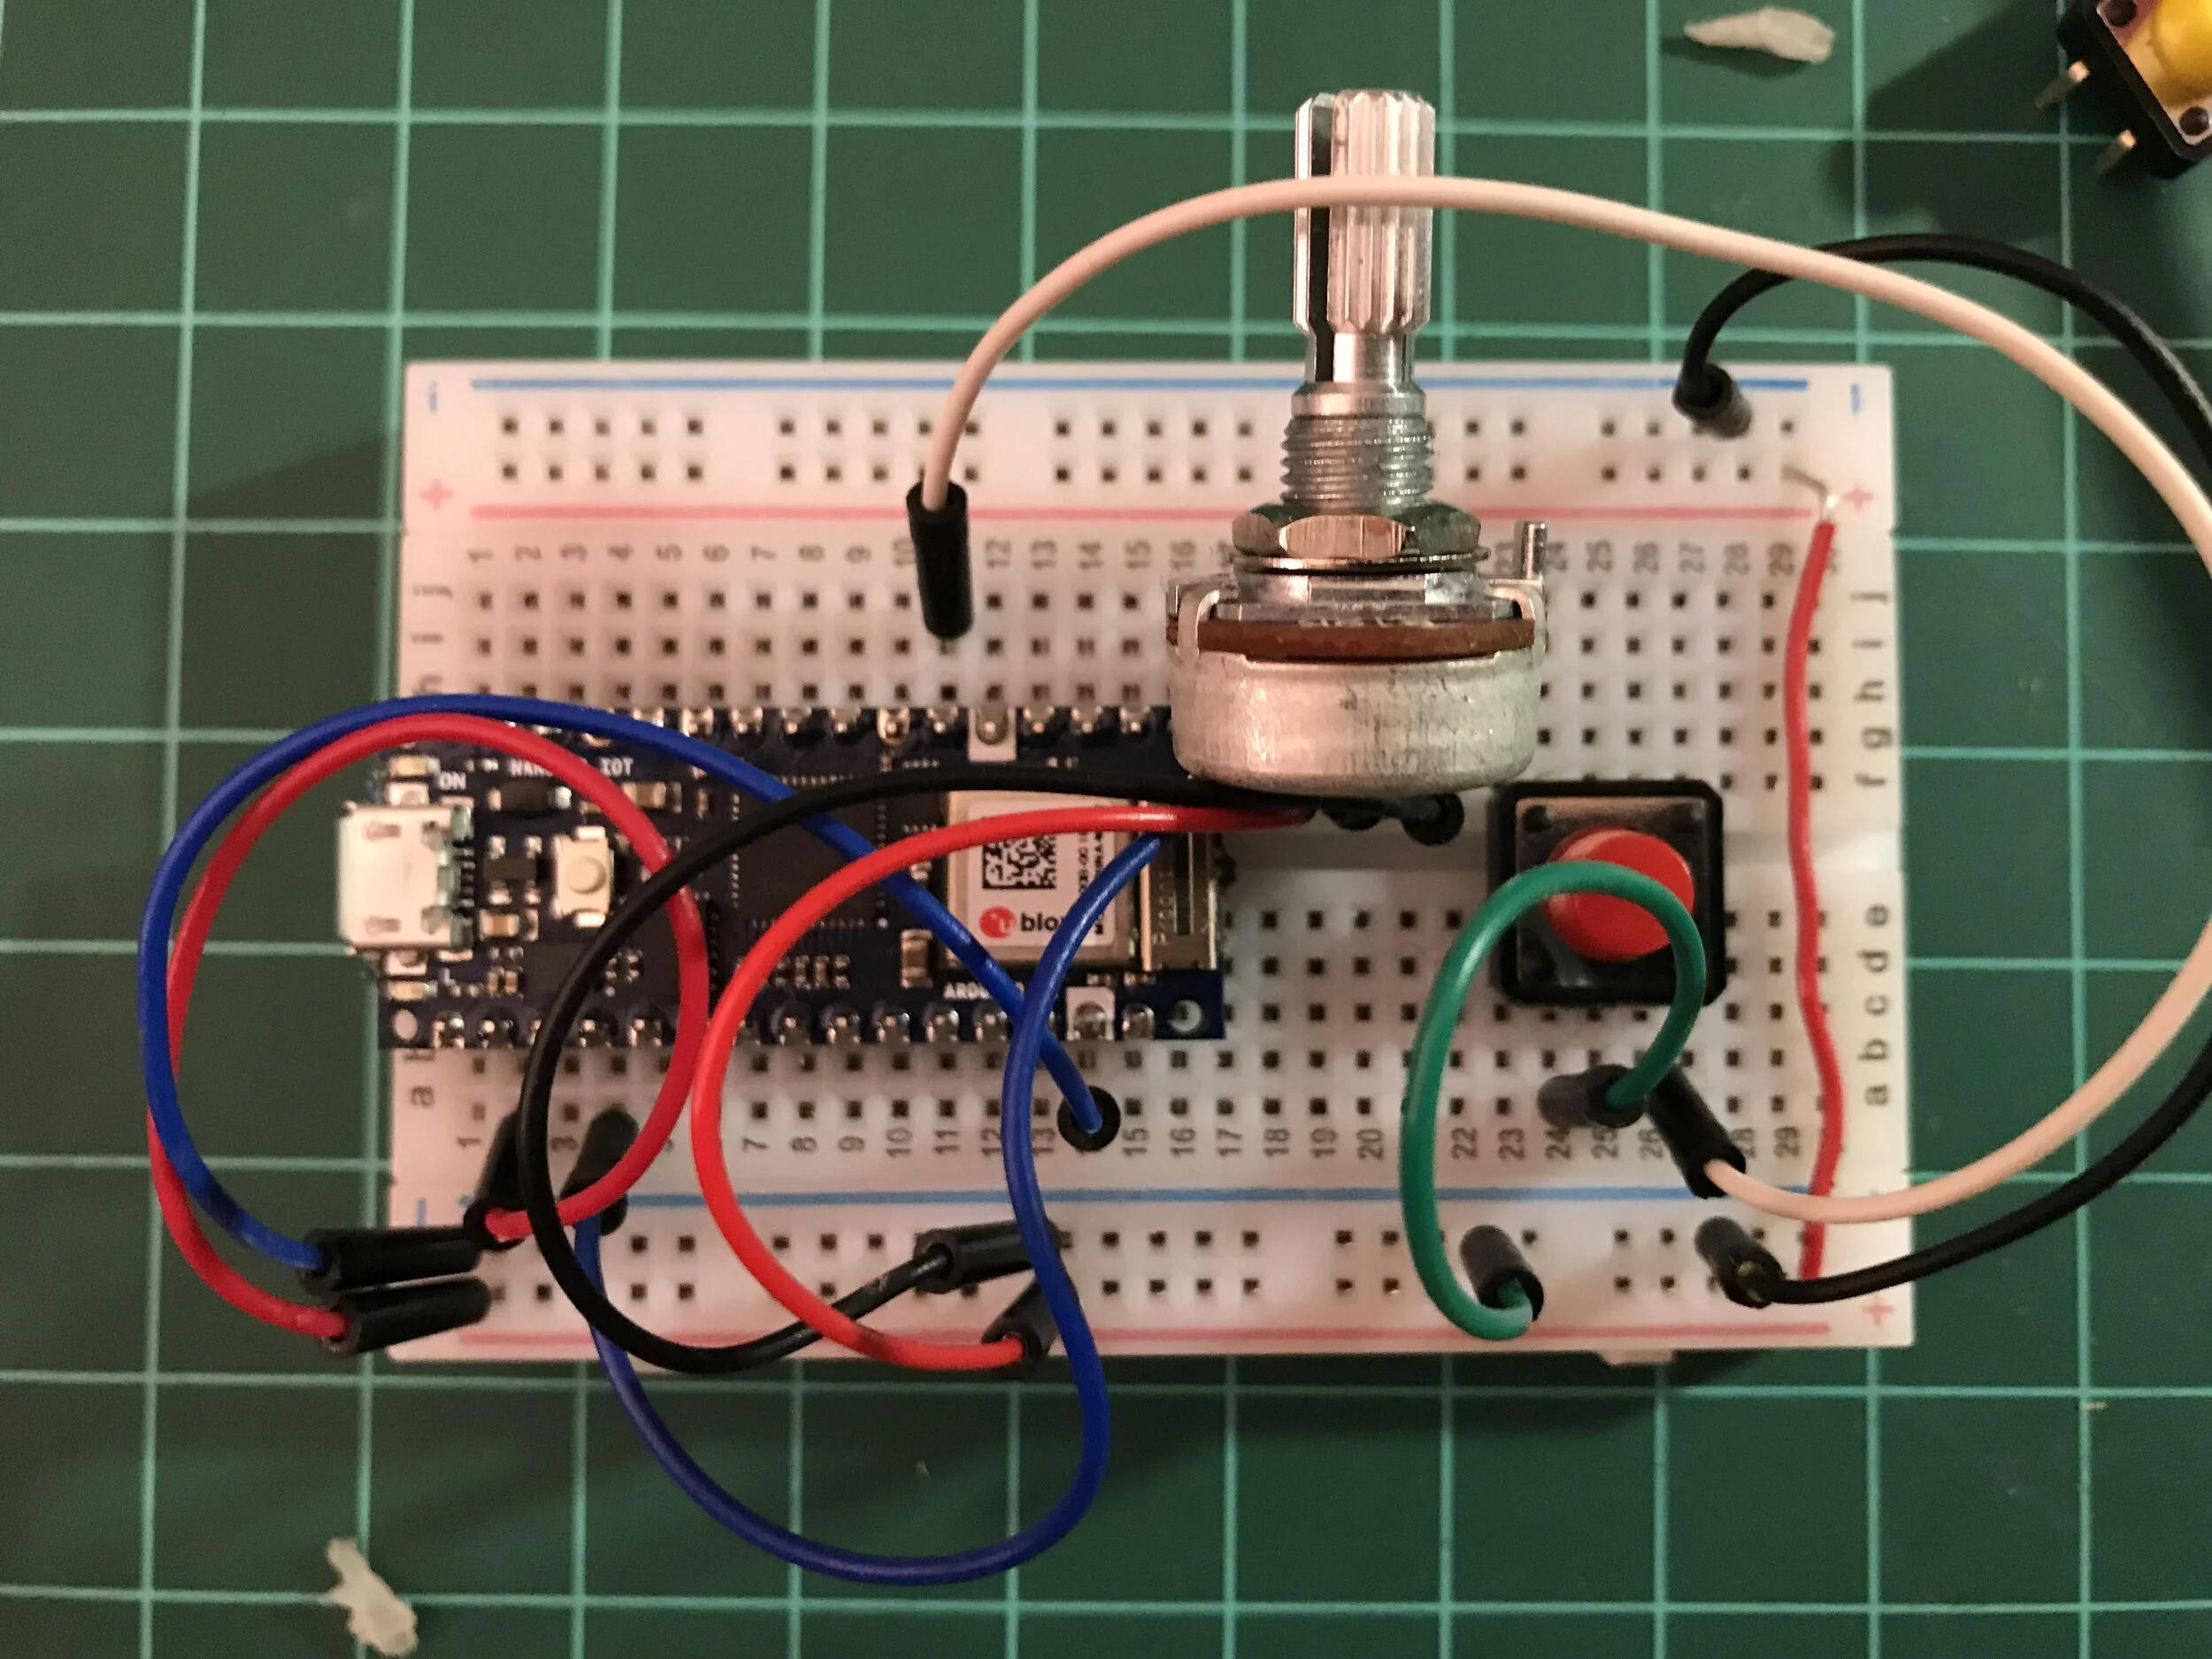
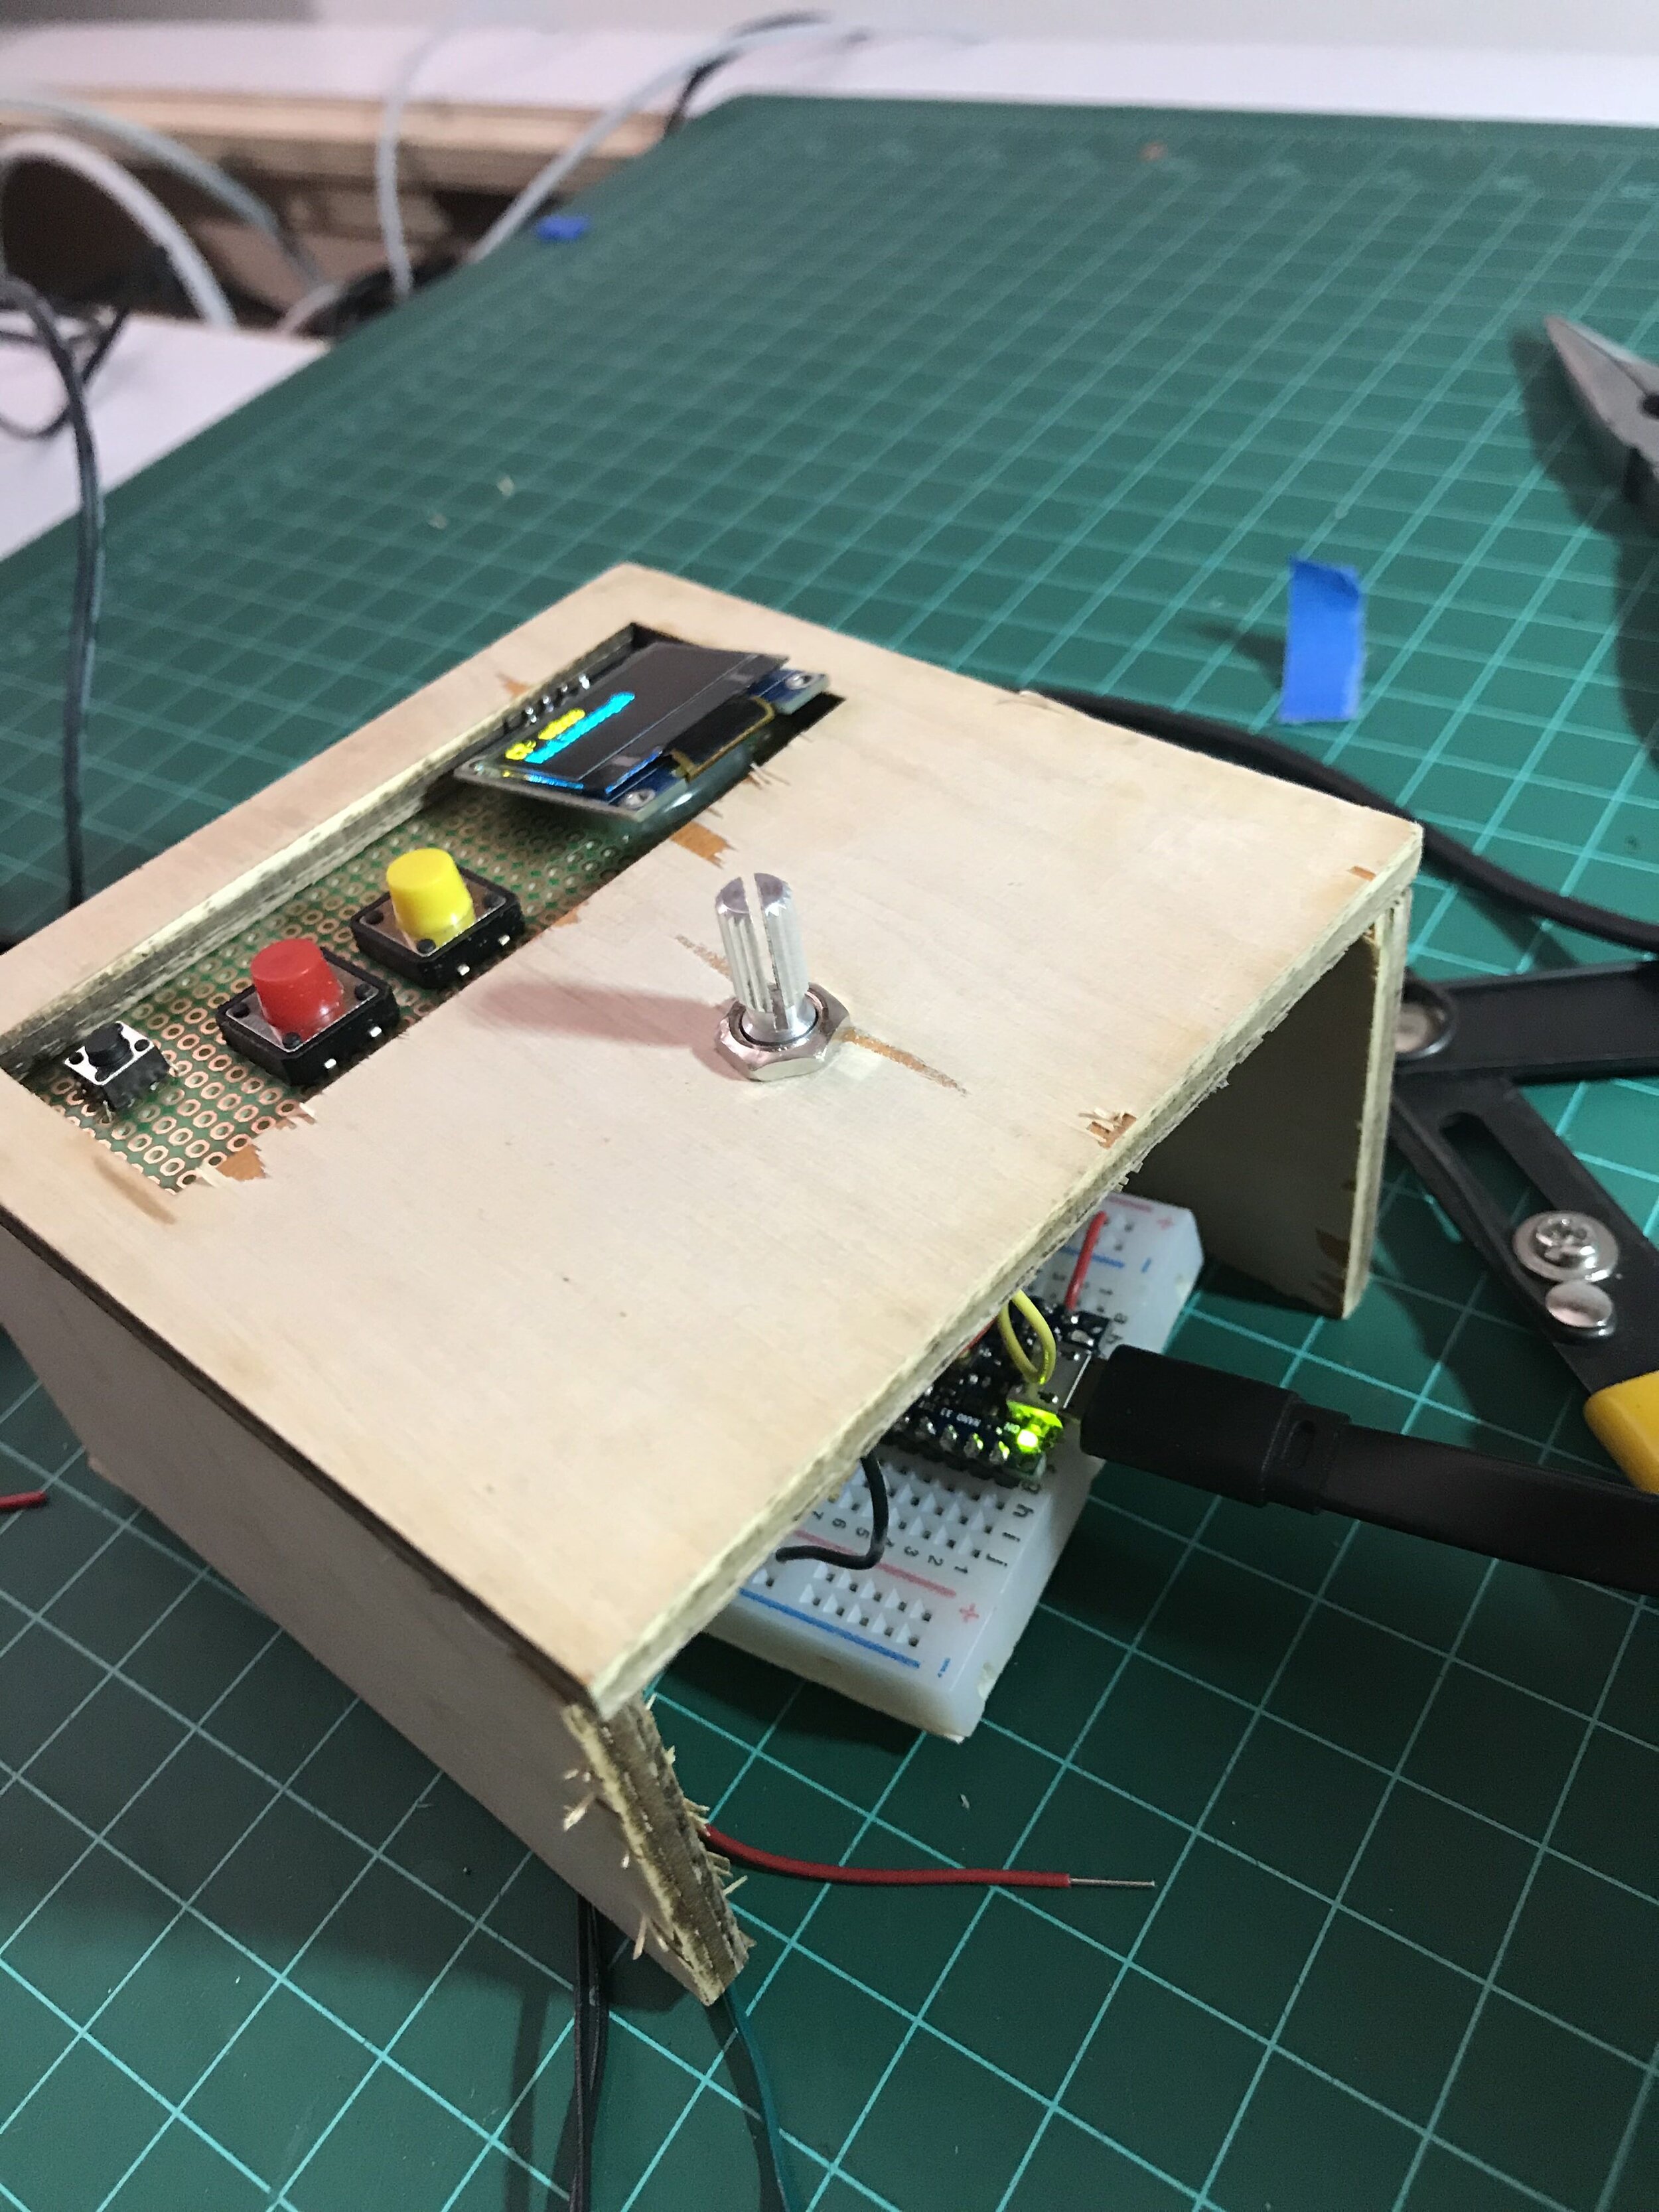
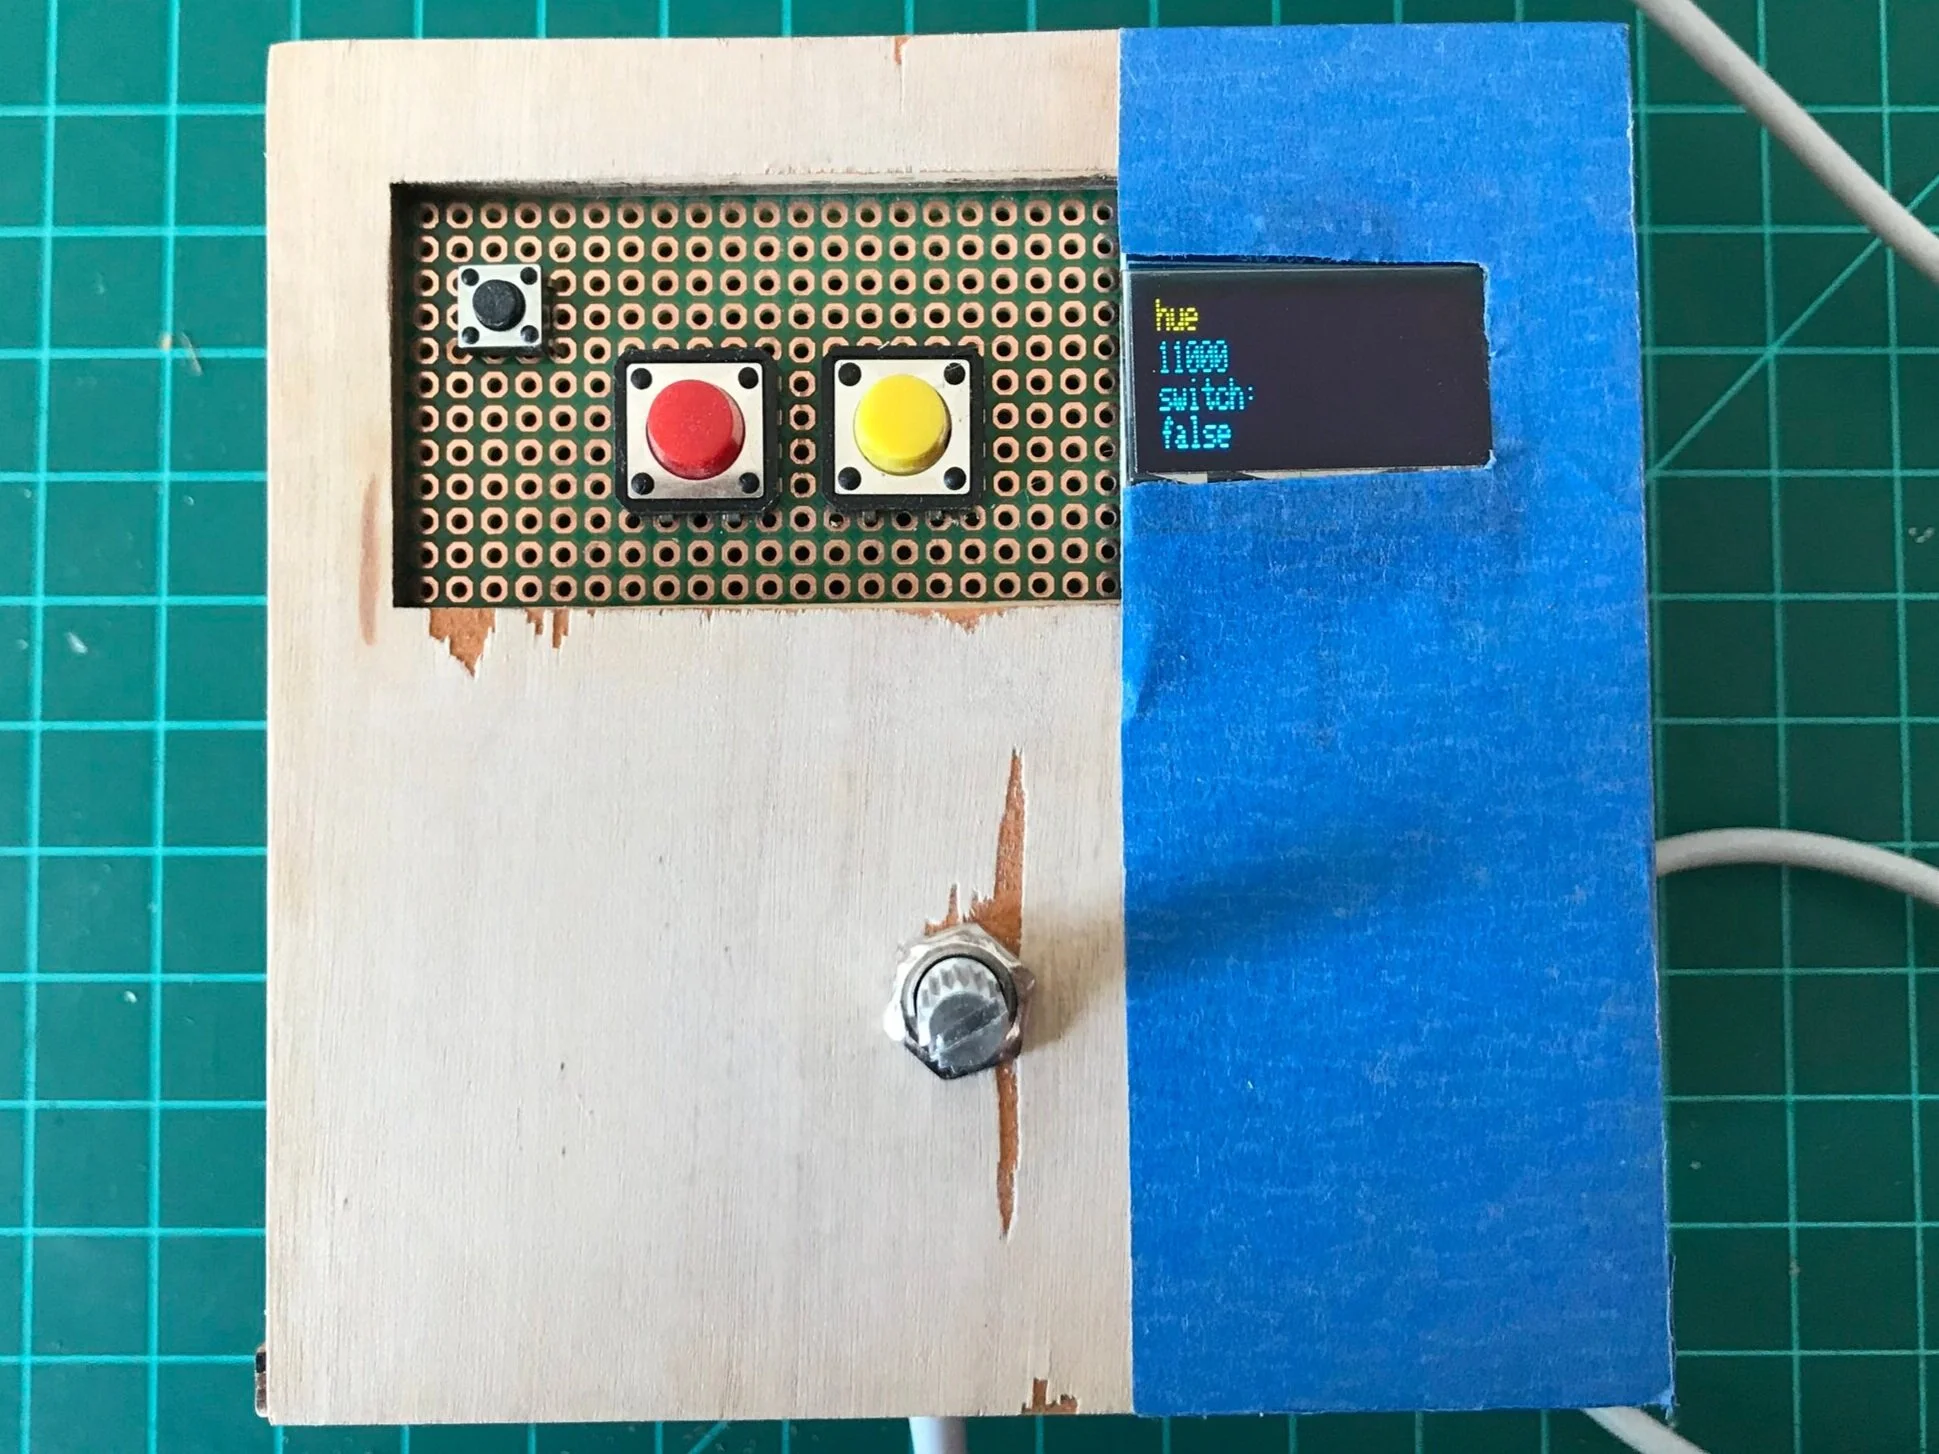
My control box consists of an on/off switch, push buttons that control left and right scrolling, a potentiometer that controls the value increments and a screen that displays the features that the user is currently controlling. There is only one potentiometer for all of the features and the user will have to choose which variable they want to control off the screen. I am using a potentiometer because there is a physical limit to how far the user can turn the knob and so they know if they have reached the min/max limit.'
Key elements of the code:
String options[] = {
  "bri",
  "hue",
  "sat",
  "ct"
};

int ranges[][2]= {
  {0, 254},
  ,
  ,
  {153, 500}
 };
Because the same potentiometer is used to control all four parameters, I stored the strings (to send with th HTTP request) and the corresponding range values in arrays. A counter will keep track of what parameter the user is currently at, in other words, what index of the arrays the sendRequest() function should be receiving.
boolean buttonPushed = buttonRead(buttonSwitch);
  if (buttonPushed){
    buttonState = !buttonState;
  }

  if (buttonState == true){
    buttonString = "true";
  }
  else if(buttonState == false){
    buttonString = "false";
  }
Because the push-button will send multiple “true” signals when it is pushed, I created a separate variable that will toggle flip once only when a change in the signal has been detected. For instance, when the button is pushed, buttonPushed will go from “ false false false..” to “true true true true” and then back to “false false false..”. Only when there is a change from false to true or vice versa, buttonState will flip its boolean. Then the boolean is converted to a string to send with the rest of the HTTP request (I think there is a better way to do this without the if and else if statements).
When there is no server requests being made, the buttonState toggle remains very stable. However, because of the delay from sending requests to and receiving messages from the server, the toggle is not picked up immediately or sometimes will be missed . I have had similar problems like this in the past with my other physical computing projects that have many i/os and would like to get more practice making the code more efficient so that the delay of one feature does not affect the others too significantly.
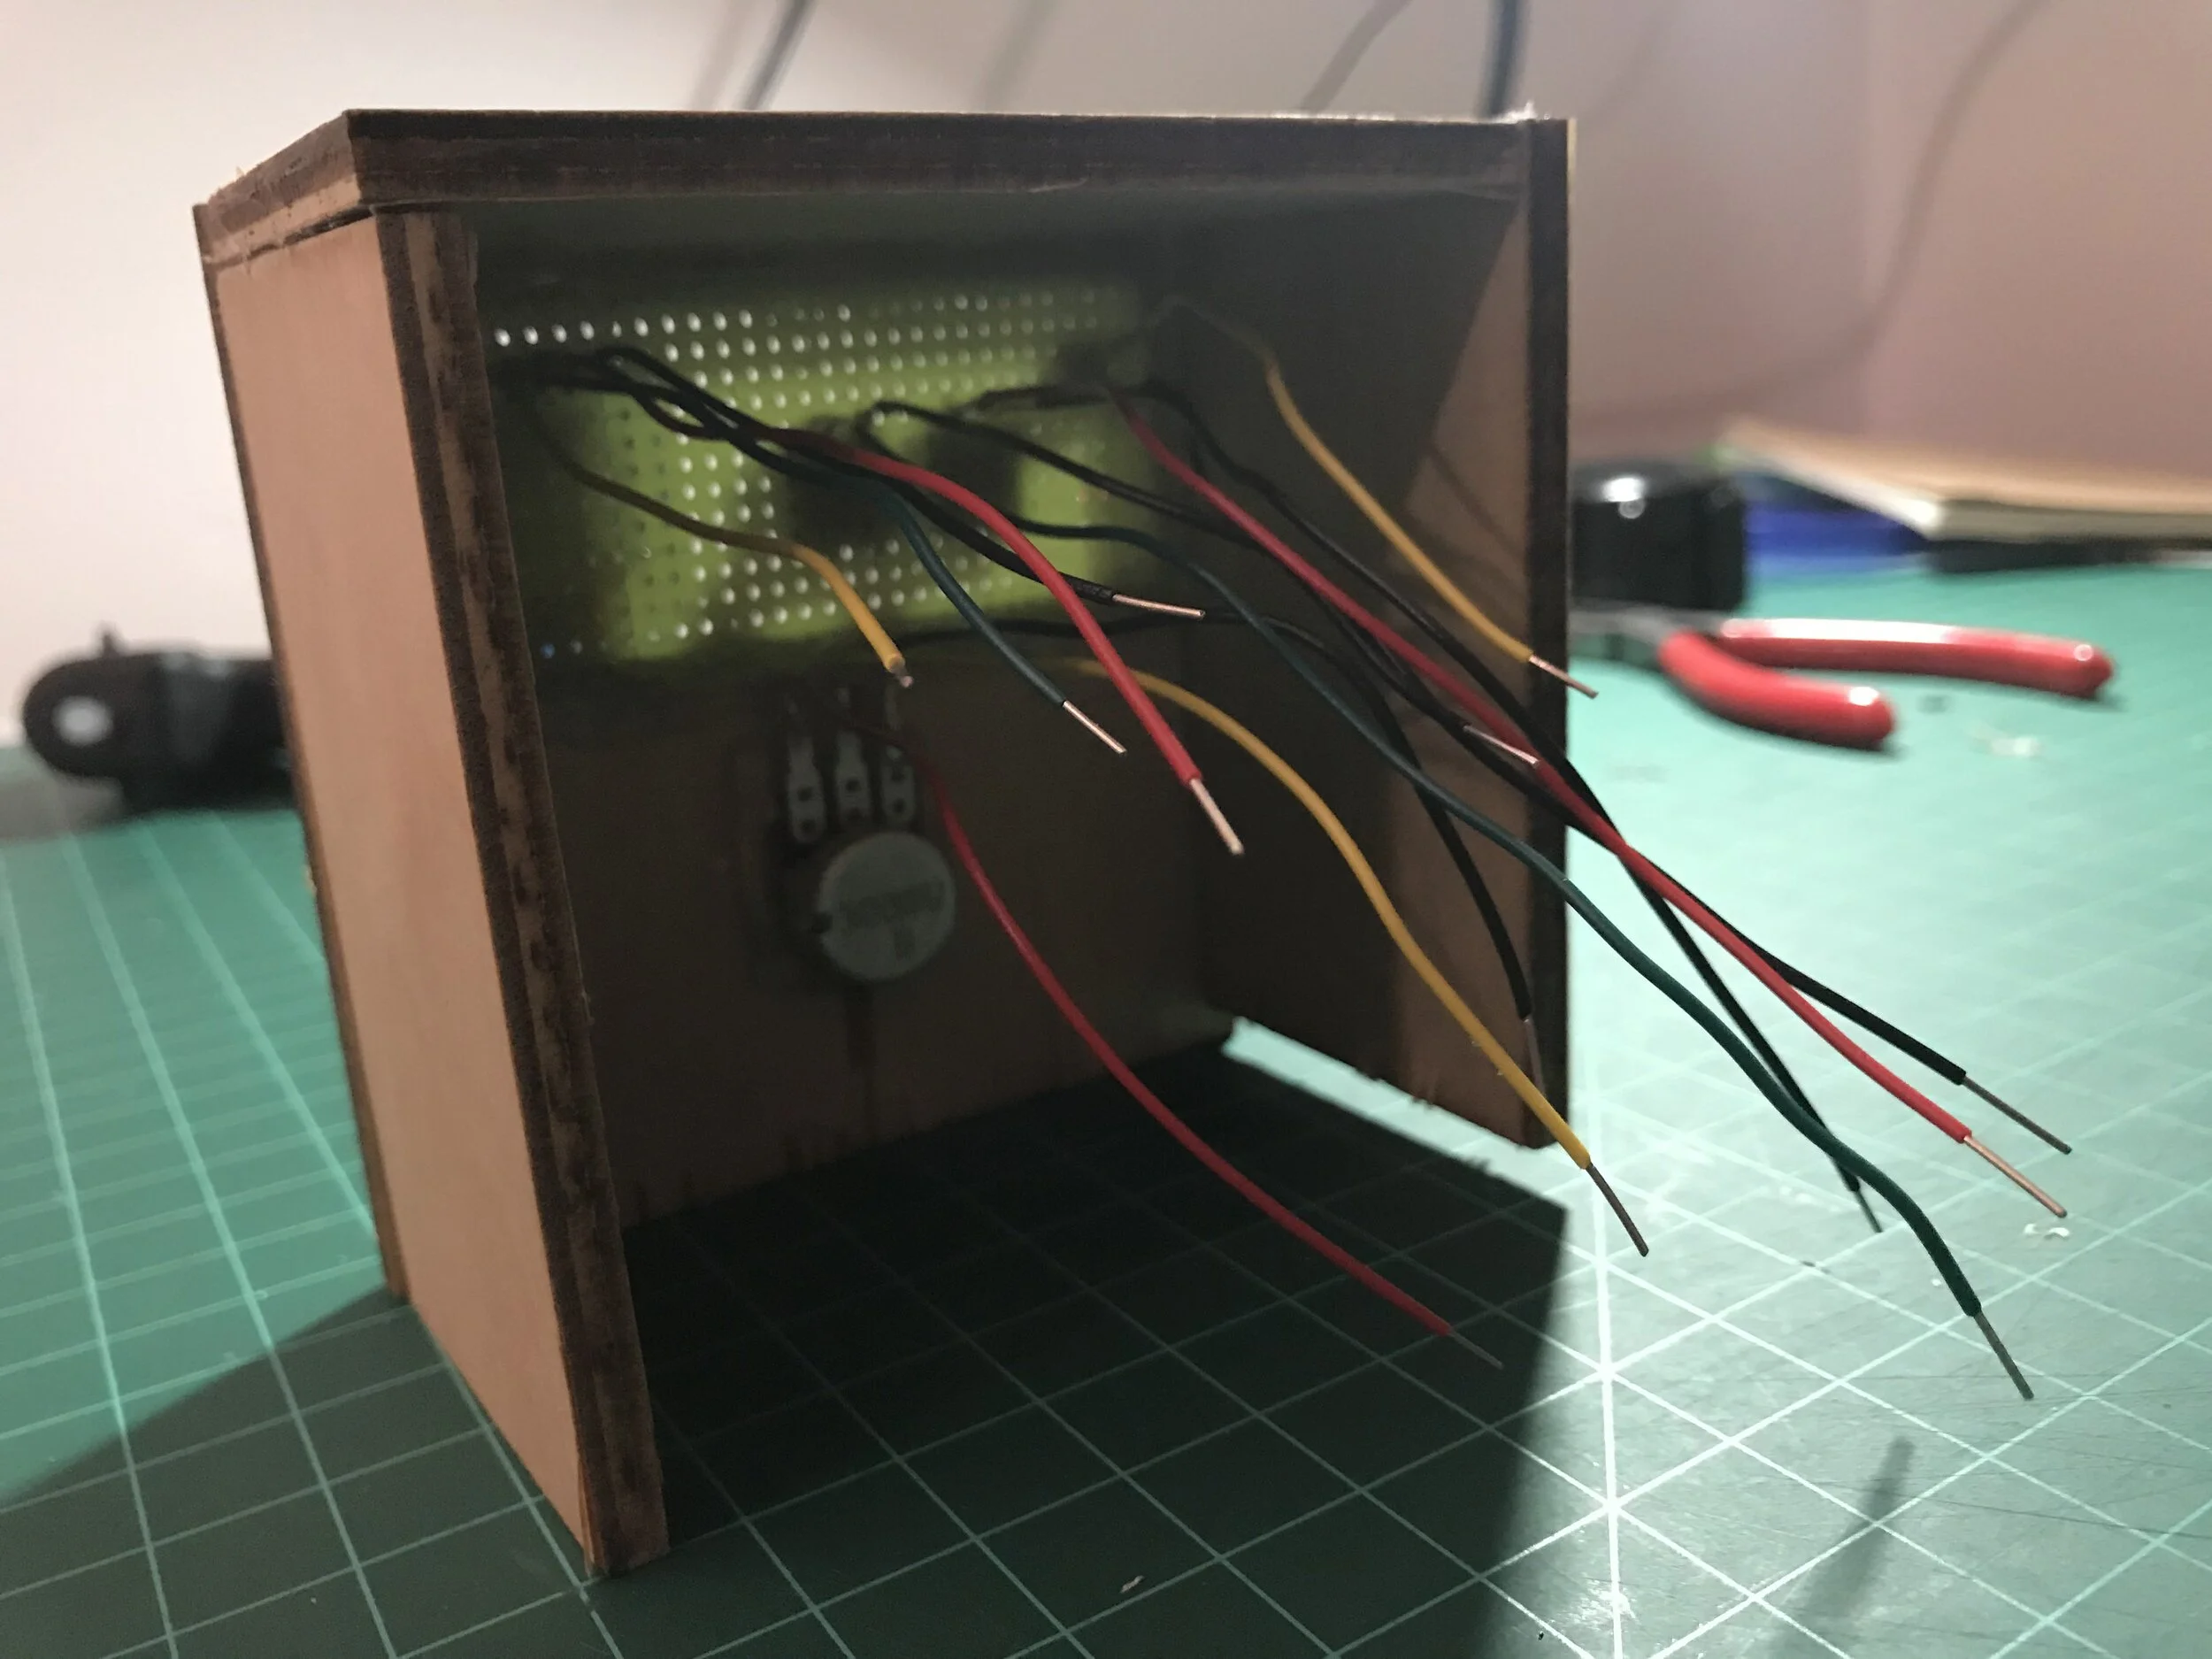
process and final images/footage
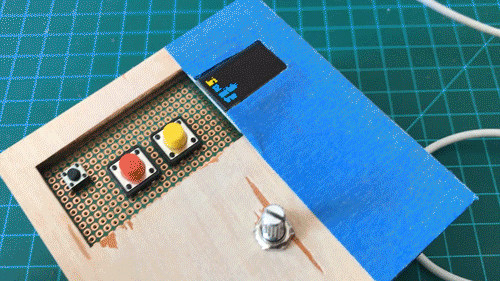
quicker mode change without connecting to the server
Demo with connection to server, (the button state changes are much slower to register)
final thoughts
Now that I have done this project, I feel that I could have come up with something a bit more experimental than just a box that changes the different parameters manually. On the other hand, doing the project this way has really helped me understand the procedures behind the http connection methods with the arduino and the way different components come together to become a request string.
In terms of my choice of components, I did not intend to use 2 button switches for the feature scroll. However, I had a lot of issues with the surface mounted version of a rotary encoder, which I have yet to figure out. (Why does the breakout version have an additional VCC pin when the surface mounts has just 2(button) and 3(A, G, B) pins on either side?) When I used the surface mount version, the readings were entirely unusable (it wasn’t just noise). I will have to look into this again.
Another thing I realized after making this is that the code should have been storing the numbers for the different lighting parameters because the value will jump to which ever position the potentiometer is in when the user moves onto the next parameter, which will have a new min/max range of numbers. From a user experience point of view, perhaps having separate dials would make more sense so that the physical position is maintained for each parameter so that those values aren’t lost like in this interface.
As mentioned earlier, I am hoping to figure out more efficient ways of setting up my code so that there is no wasted processing time that will prevent the timely transmission and reception of i/o messages.