This was my first time learning about the ATtiny85. I had no idea that I can this chip to replace arduinos for simple I/O tasks.. This is going to be great for future projects, where I can first prototype with an arduino then replace it with an ATtiny with the same code so I can get my arduino back for future projects.
To summarize the process of bootloading the ATtiny85:
1. the arduino uno is set up as an ISP (In System Programmer) by uploading the ‘Arduino as ISP’ example code
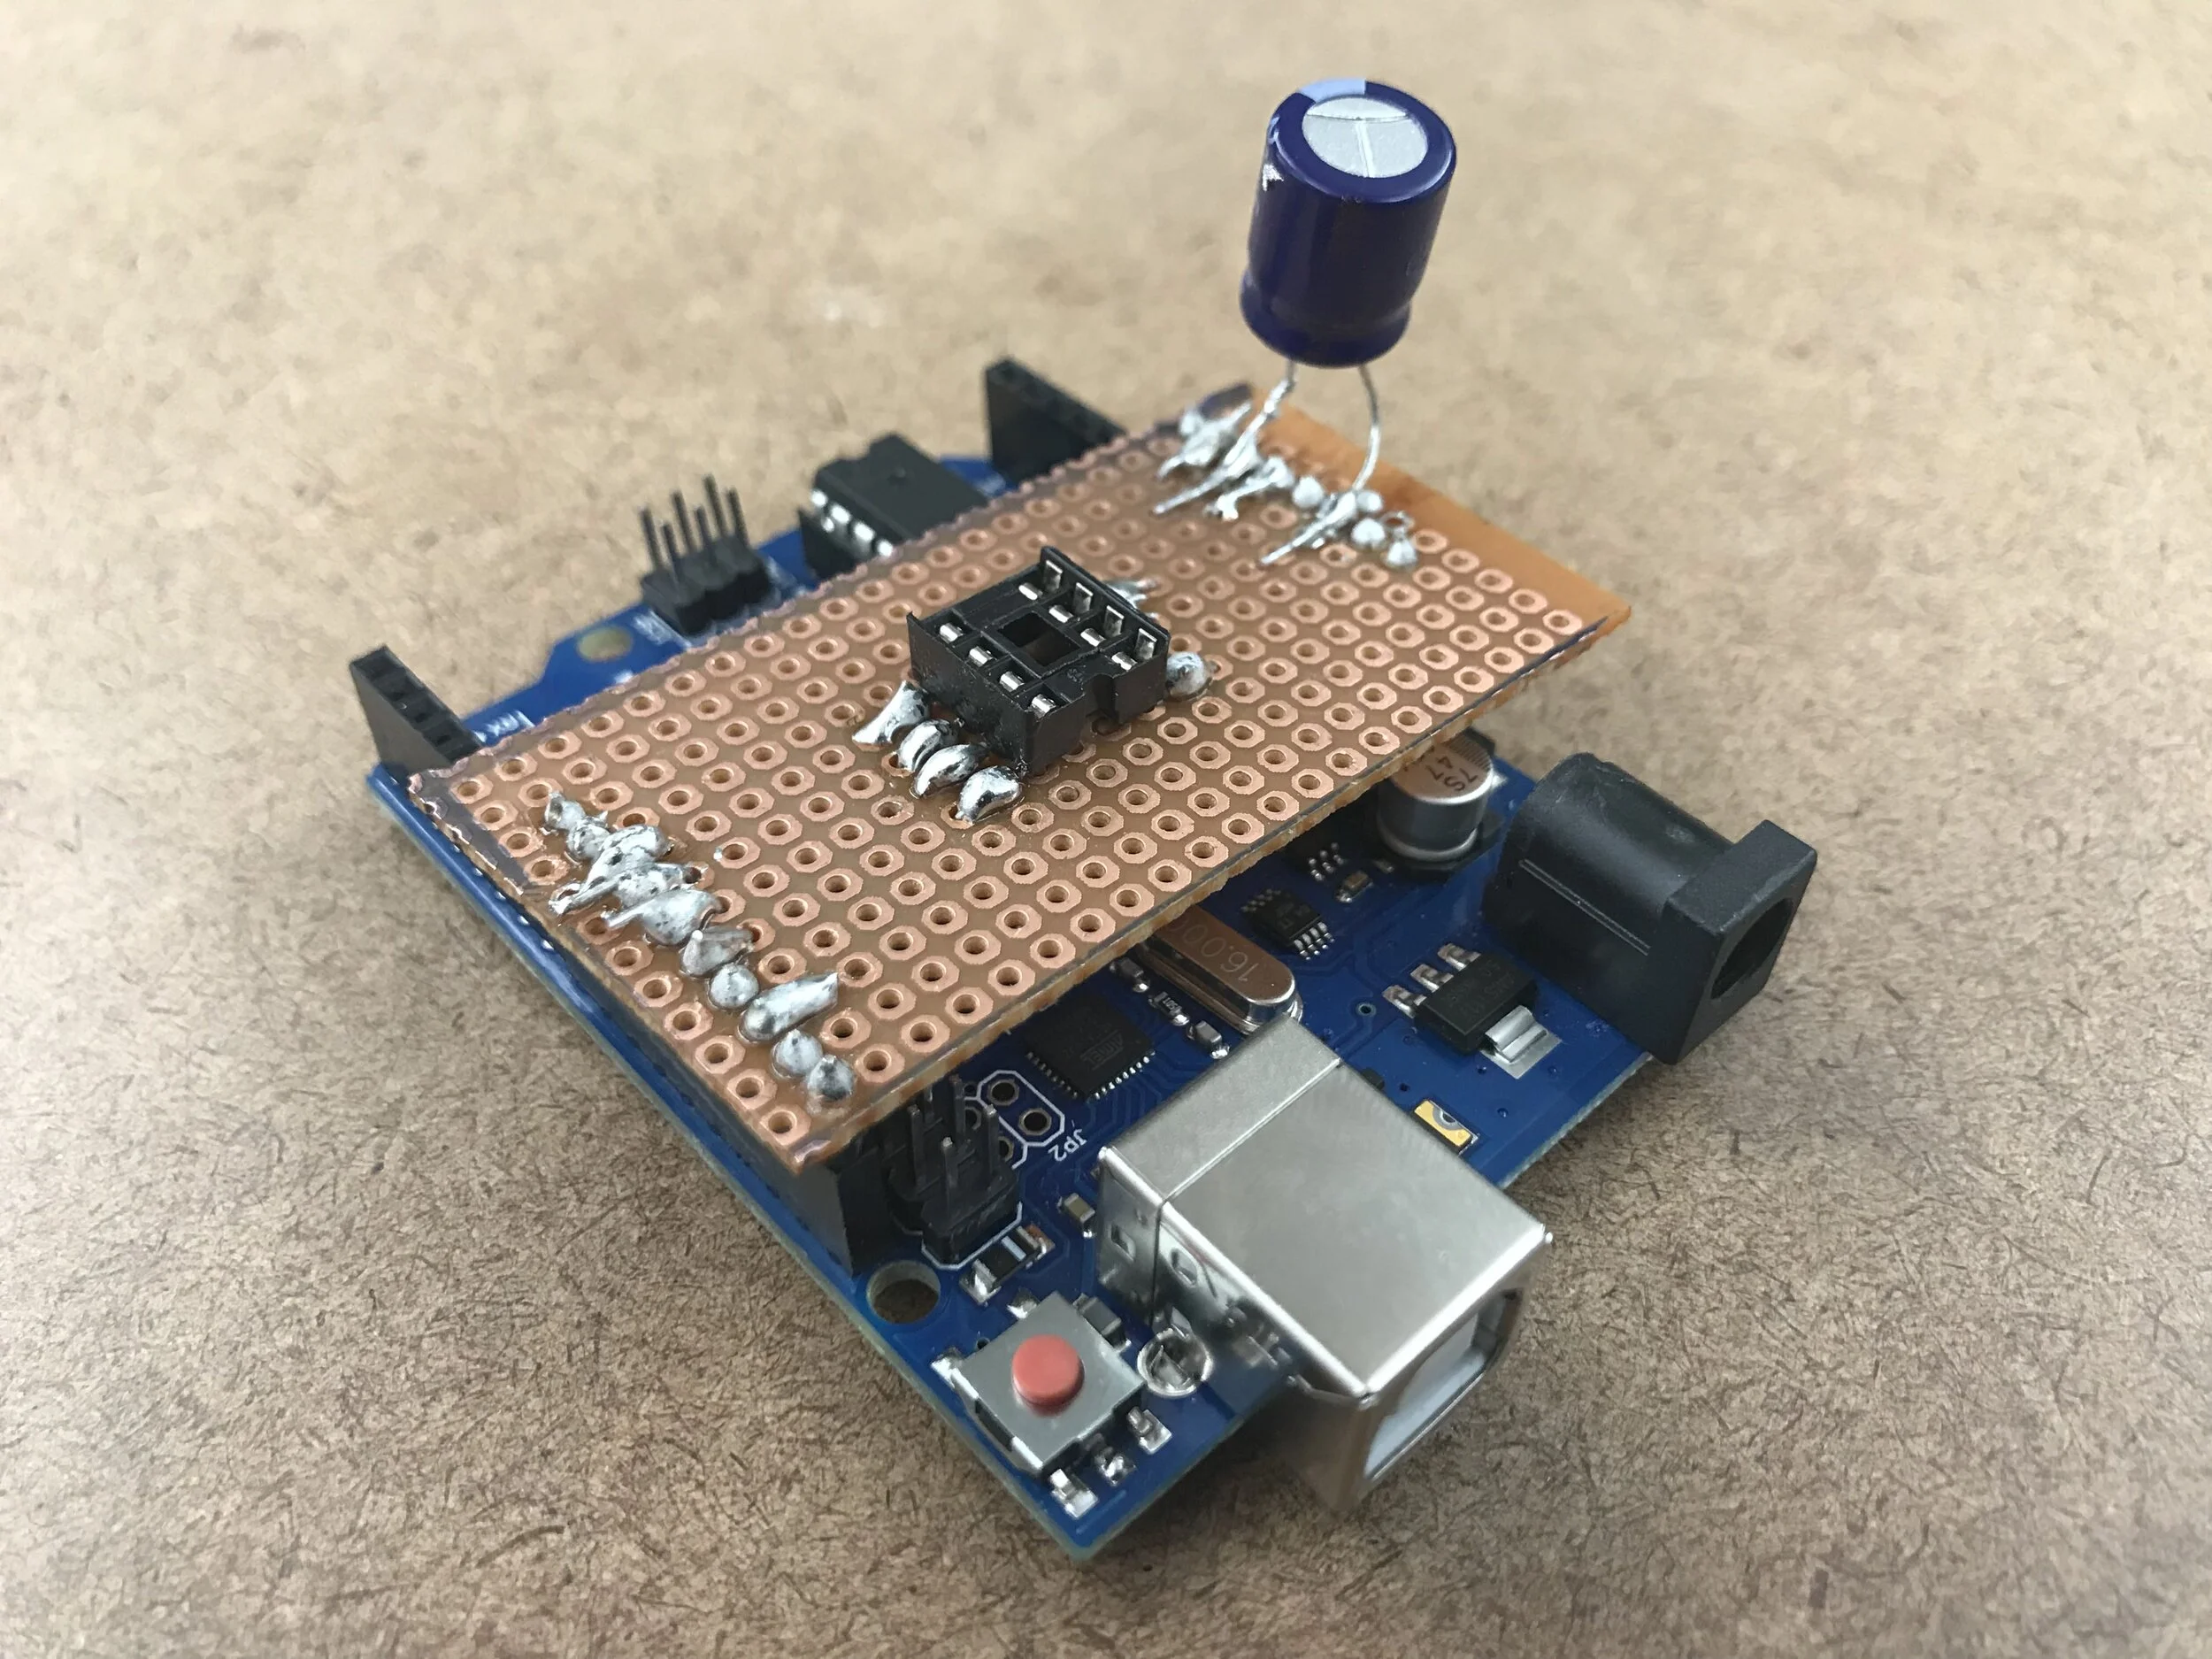
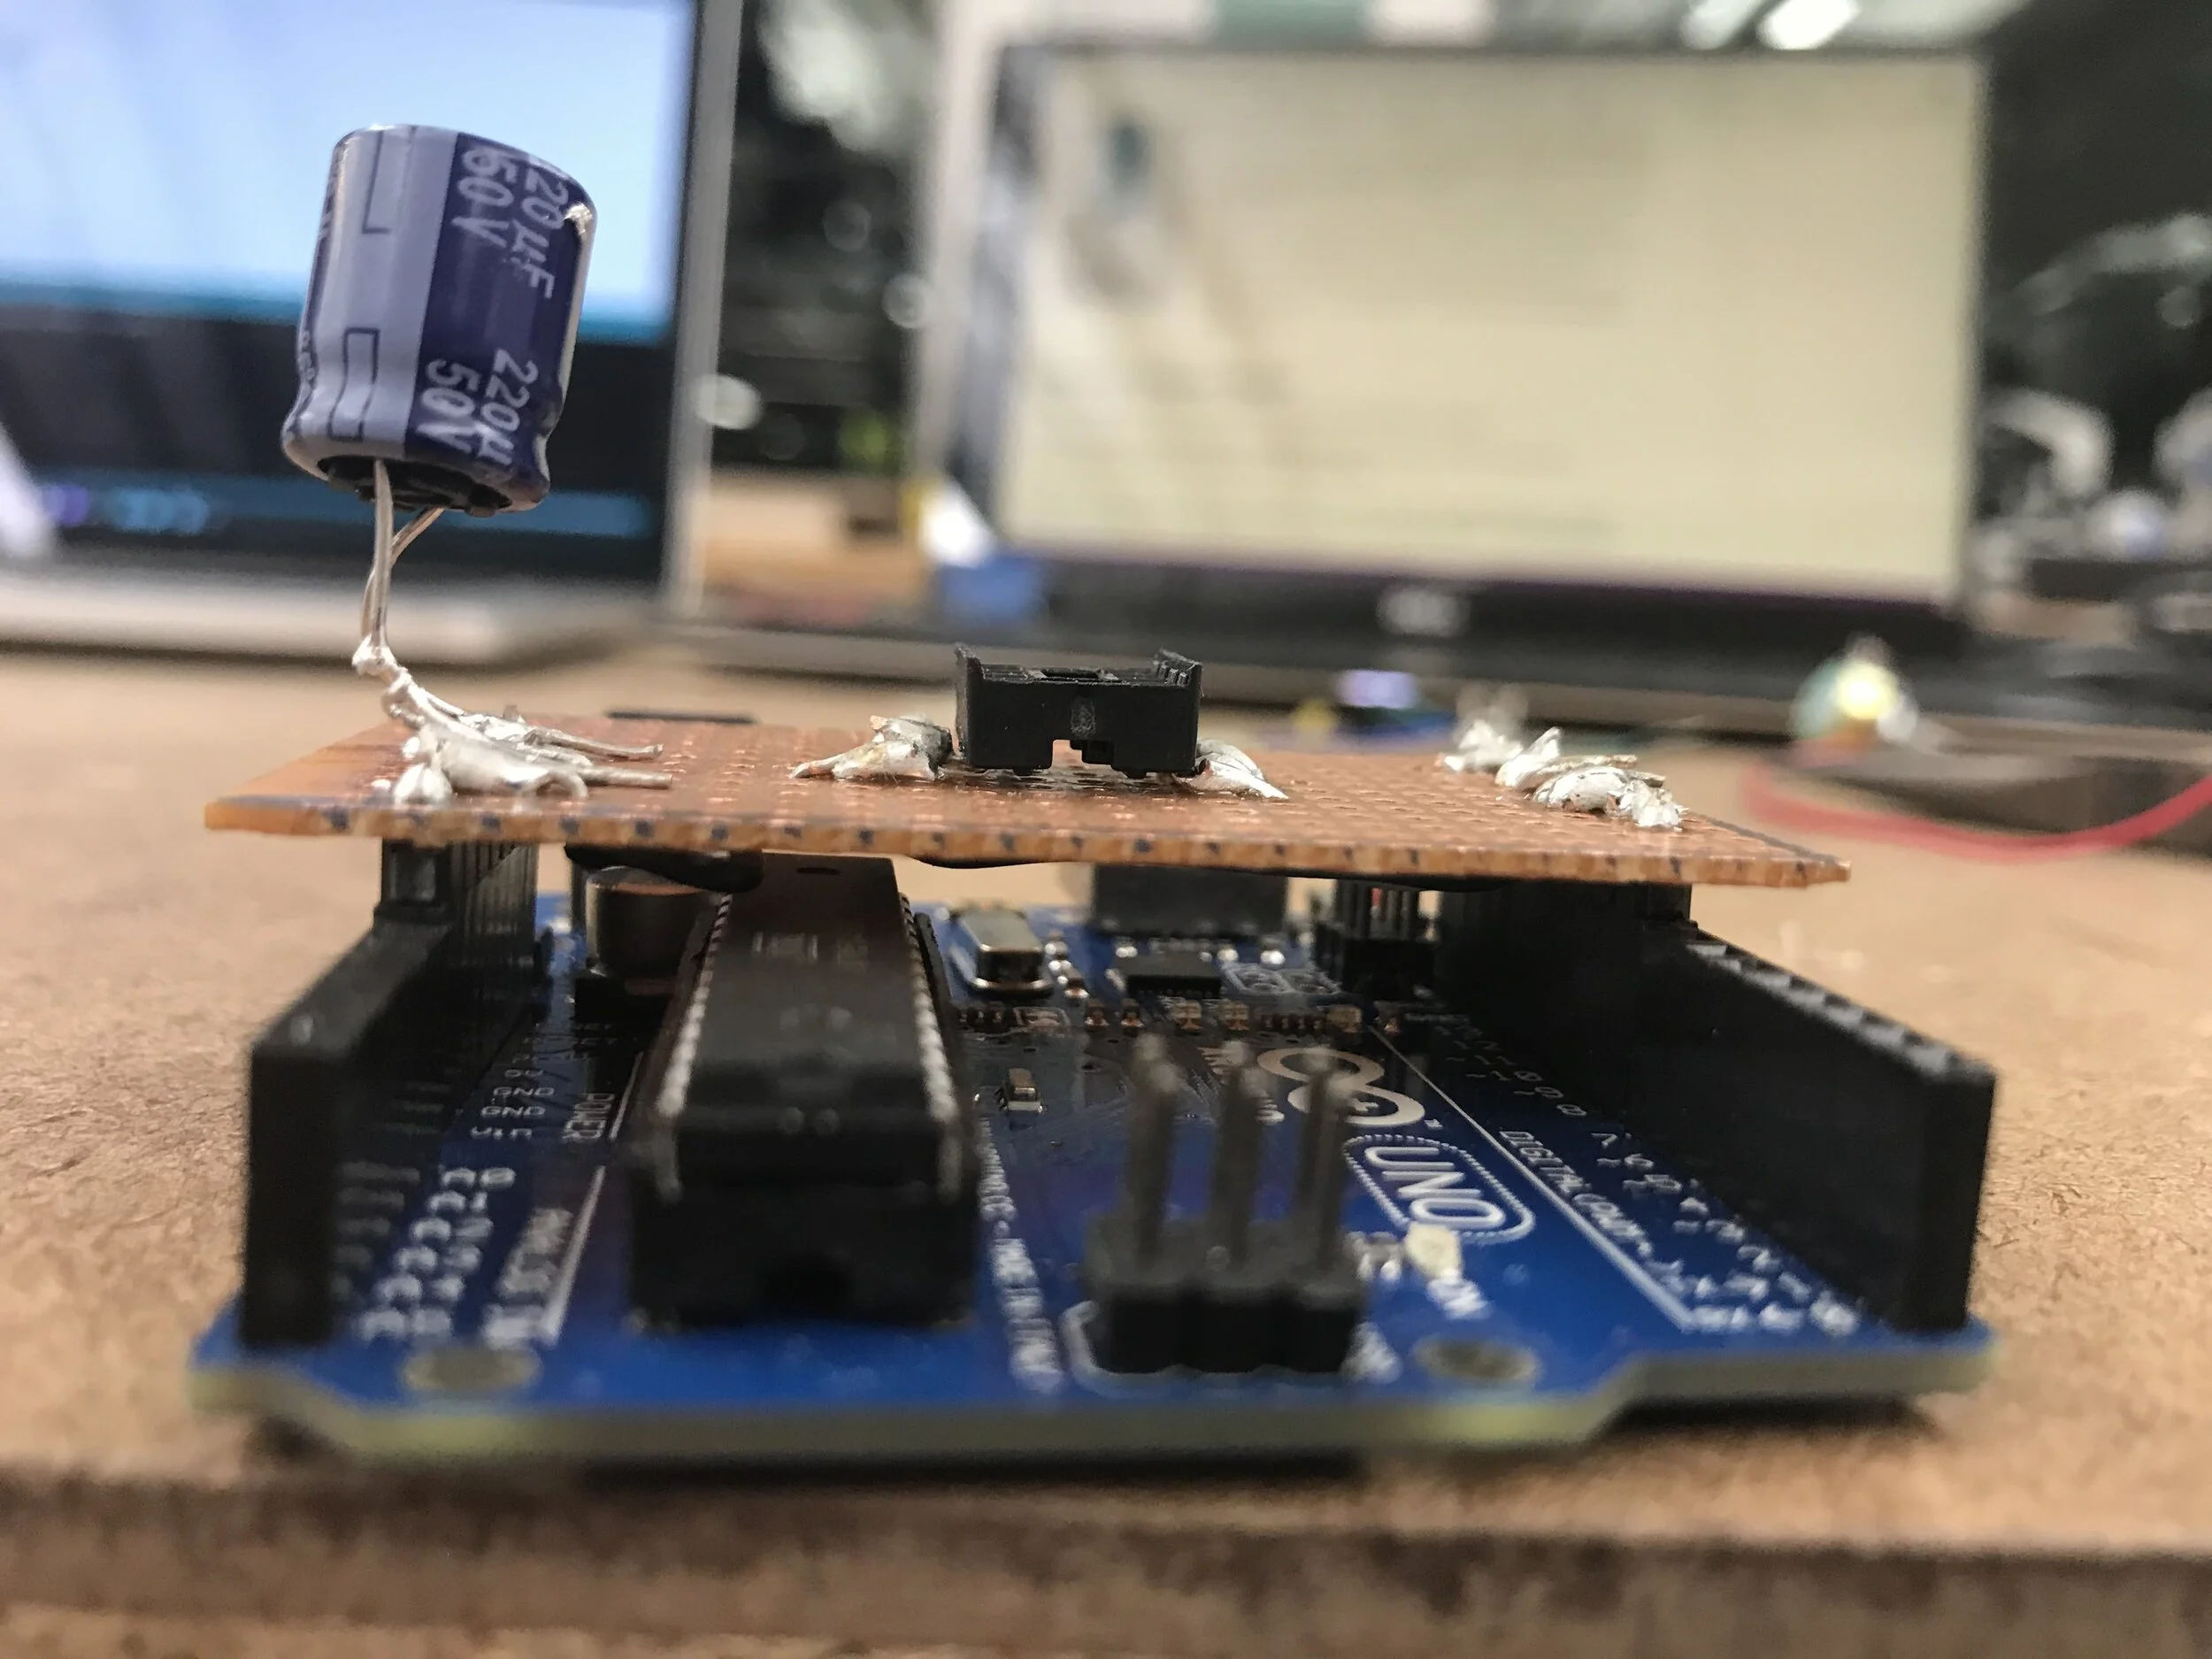
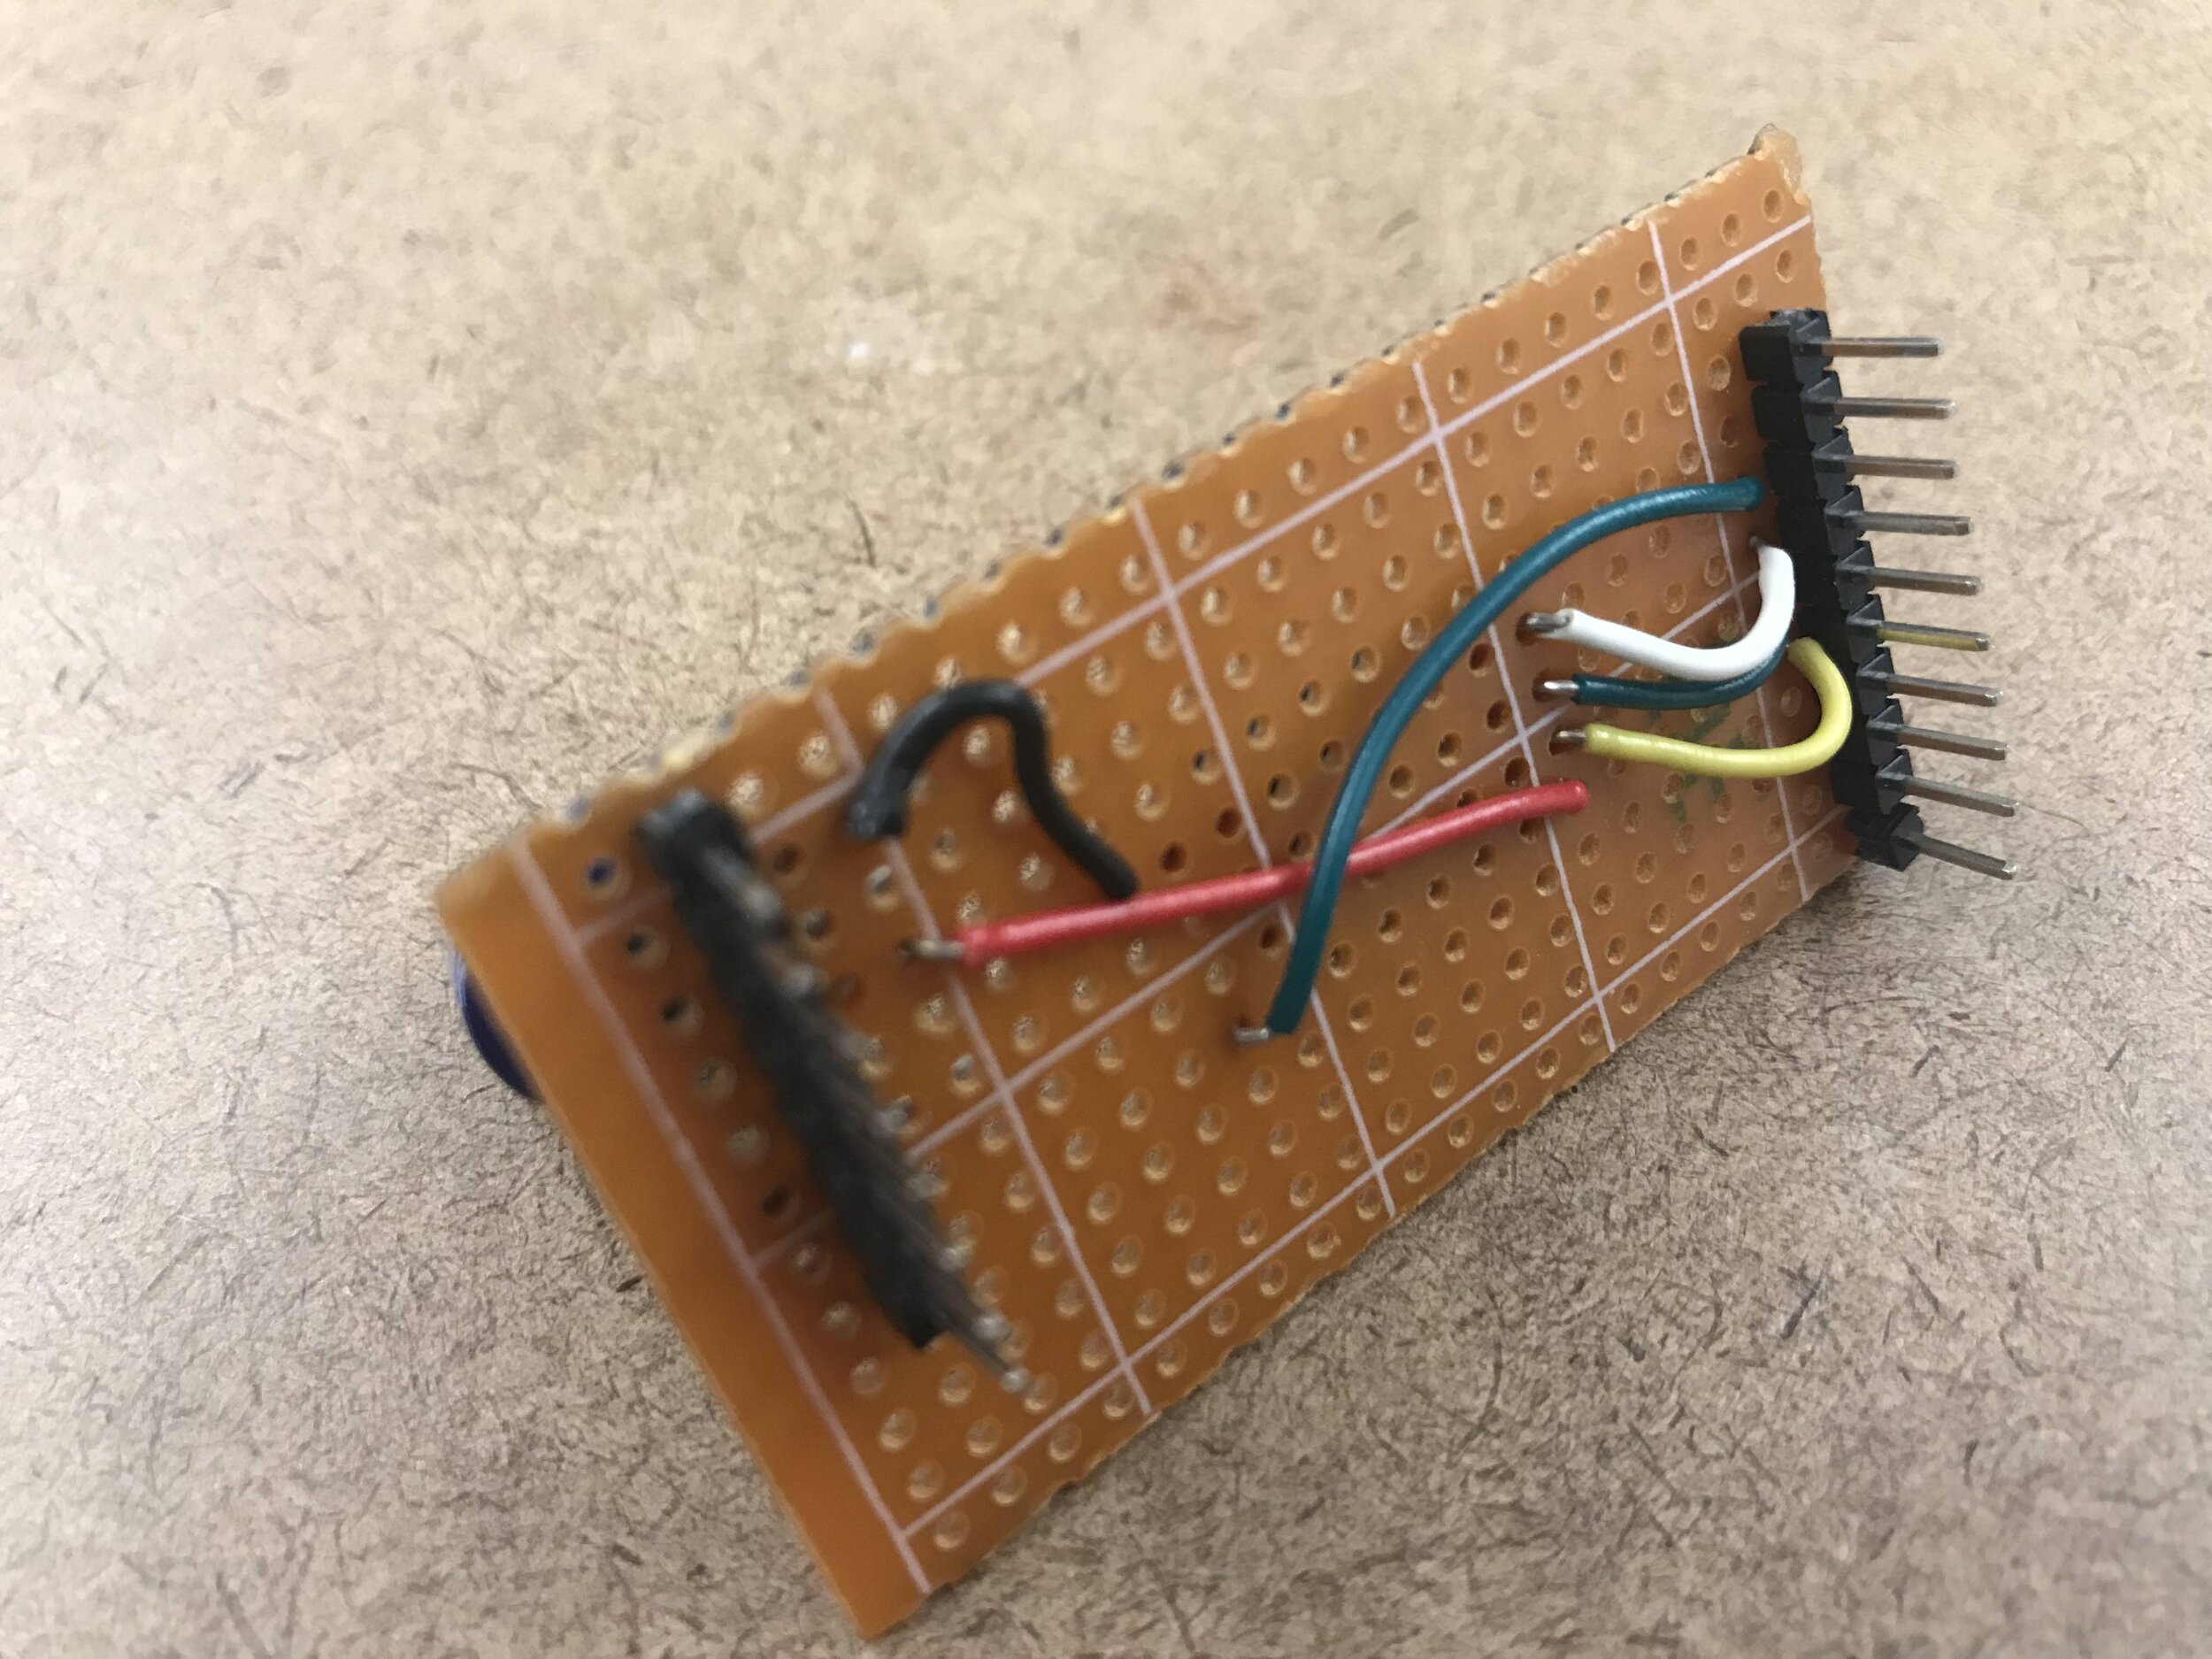
2. the arduino is wired to the chip
3. in the IDE, the programmer is set to ‘Arduino as ISP’, the ATtiny85 is selected as the target board with the correct clock setting and then the bootloader is burned
4. once successfully burned, you can upload the code but through the “upload using programmer”option
To make it more efficient with the wiring of the ATtiny to the arduino, we made a programming jig that would sit perfectly on the board.
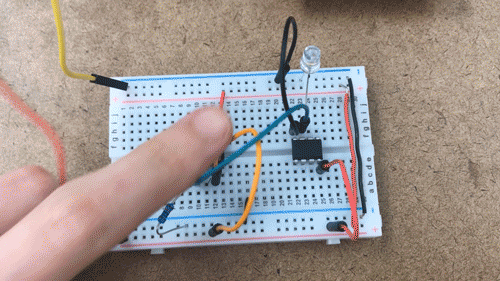
For the input/output assignment, I uploaded some code that would turn an LED on with the push of a button. I had to keep it simple for the sake of time because I spent a lot of time this week trying to figure out the problems I was running into with uploading the bootloader from my PC, which I still have yet to figure out (I ended up using a production macbook).